Friday 19 February 2016

Dancing in Italy

Oh hello there !!

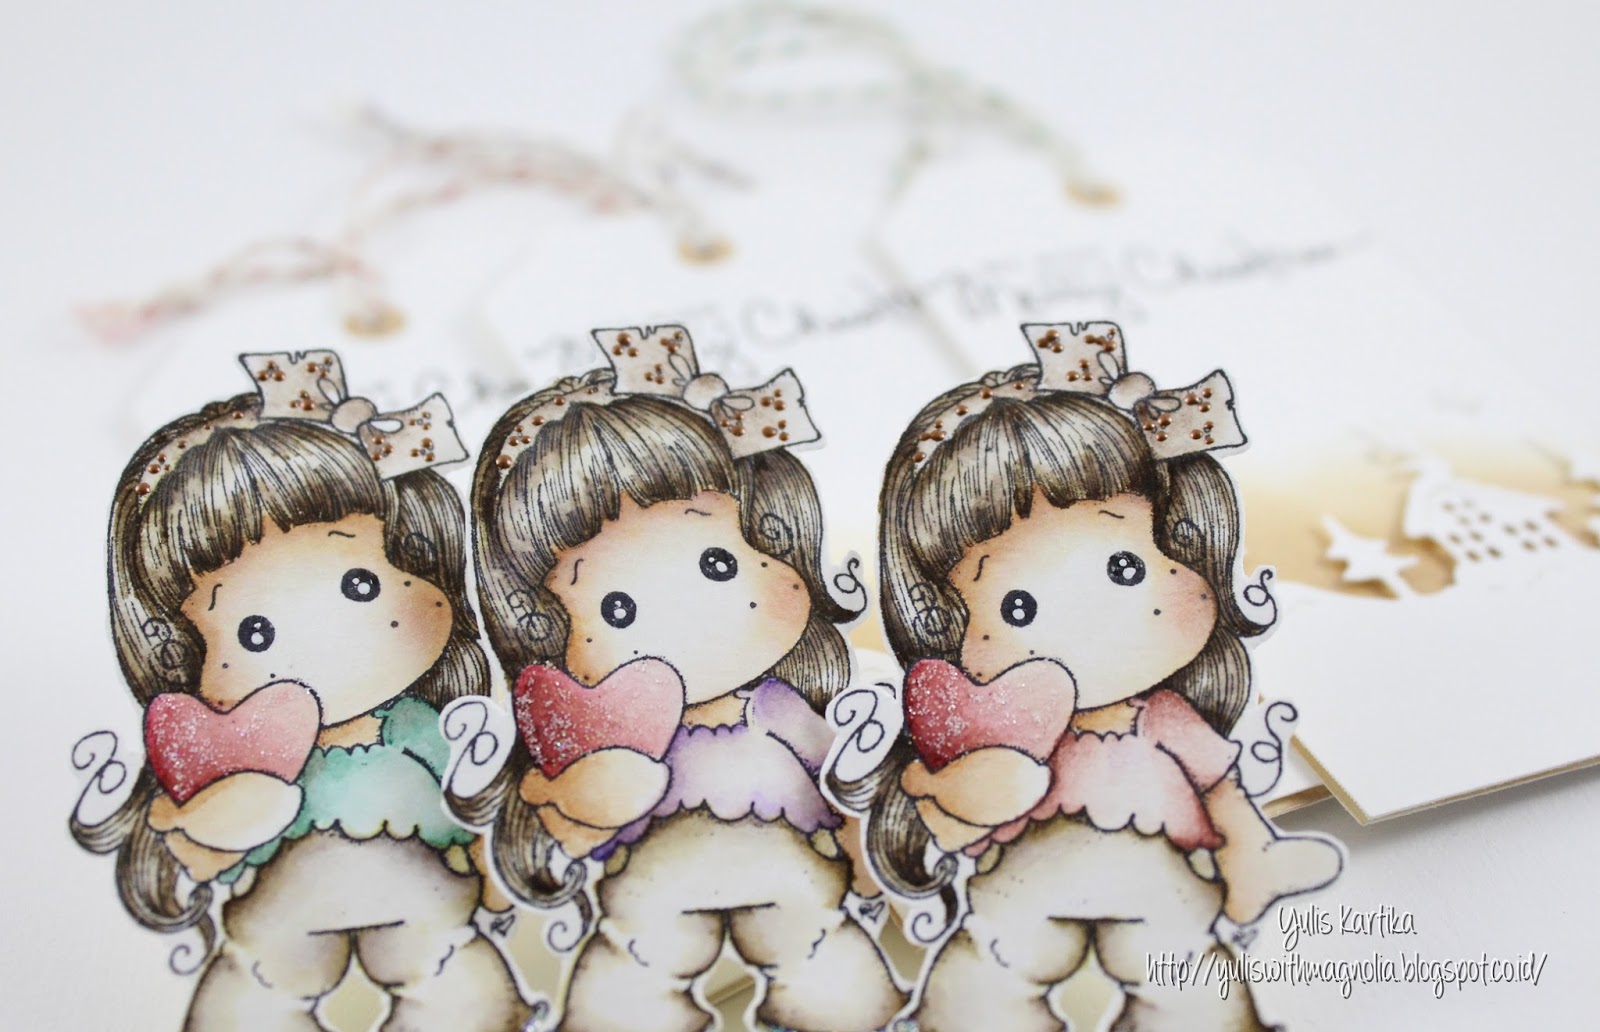
I come back again and share a card using an image from Little Italy Collection.
This collection so beautiful [believe me!] all images are so fun to play along ;)

also I am so excited to be a guest DT at my lovely friend's shop called Craft Heaven Shop
My team mates at Magnolia , Tina Makuc owned this beautiful shop and she has lots beautiful things for crafting and she able to ship  WORLWIDE!

so, here is my card for her store 1st Birthday celebration,


I used some of Magnolia dies, most of them are from Vintage box volume 1, but I also use a dies from Sakura collection as well as a dies from Dies club vol 4 {tassels}


I use some paper from my stash, as I color the image with distress ink.
Ink the edges up with SU! ink crumb cake color, and brush some white paint here and there.

again, I wanna say that I am so LOVE with this image ..


Tina is so kind to share her happiness with you, she has a lovely offering ..

Here's the Discount Code of the day for Craft Heaven Shop dear followers..
BLOOMING10..
It gives you a 10% discount on all flowers in store..
Get them all now at this fantastic price..
Offer valid only for 36 hours (ends Feb. 20th - 23.59 GMT+1)..
If you want to pamper your self .. go to her shop ;)

Thank you so much for having here and I'll be back again soon!

xoxo, Yulis

Romantic Sunset

Hi there!
It's so good to see you again, and how is your February lately ? I wish everyone gets more love day after day ..
I am happy to share my card here and today's post was inspired by a beautiful sunset I saw few days ago when I am on my way back home, so here is my my card;
When I color this image, I really adore how pretty she was with the hibiscus flower on her hair .. my mind blown away and immediately I remember about the beautiful sunset, the ambiance will be suit with this image.
I think about how to make a mini scene about that, I grab some coloring medium and I did it! I made my own sunset view for her :)

 
Supplies :
Coco-Nuts Tilda - Lovely Duo
(colored with distress ink)
Hybrid ink yellow, pink, pink orange ; Copic marker ; Spectrum Noir color pencil ; Pretty Pink Posh various sequins.
Here a tutorial when I make the sunset :


Thank you so much for visiting me and I wish to see you again!
Xoxo, Yulis

Friday 5 February 2016

Will you be my Valentine ? - Cute gift on a box

Hi!
How are you my dear reader ? I wish everyone on a good day!

Today I have a cute gift that might be suit for someone special ;)
 I bet there are some snow over there .. hope you guys in a cozy warm and delight room when you read my post. So, please relax and enjoy ...


I have a cute little gift that tied on a pair of cutest bird tag from Magnolia Dies club, I believe it comes from volume 2.


I kept that gift on a box that slightly big than the petite card inside.
I used watercolor paper and doing loose water coloring using  Winsor and Newton - Cadmium Red which is nice to go with my lip balm's color.


This is the look from that set, aren't they are simply but sweet ? at least for my sight .. LOL!! But yes, I do love them so much! I think I will make some set and pass them over to some teachers ;)


Here is when I made that set ..


Thank you so much for stopping by on my blog post and I'll see you again soon!
Hugs, Yulis

Friday 18 December 2015

All is calm ... love being creamy together with best friend

Hello ..
I'am back again today :)
Let me share my {another} Christmas present this year.
 
ta raaa  .... 

looks like I can't stop to play with this winter dies, yup! I don't want to wait until next winter to play along with it, so once again I used that wonderful winter scene dies from Magnolia dies club vol 7
For the window I use Vintage Frames, and adhered a piece of vellum for frosty effect.

 
if you want to make the packaging like I did, it was just simple.
I cut a piece of card stock with  6 x 10.5" 
Score on the short side at 1.5" , 4.5" Score on the long side at 4.5" , 6" 
Cut a window shape on one side, fold and arrange that box with open side on the top, punch a small hole and tied it up with ribbon or twine.


I just made one box, because the other handcream are mine .. lol!!  I just love to use handcream anytime I have a chance! yeah .. that's one of my habit :D :D
Because I love these cream so much I want to send a happy thought to my my best friend and I think I would love being creamy together with her!


I wish everyone a Happy Christmas !
May the love, joy and peace be with us, Amen.
Warm Regards,
Yulis

Trio gift sets

Hi! and welcome again .. and it's mmy pleasure to meet you again.
 
I don't know why but this year I am so exciting with lots of present, and in love with the winter mood :)
This shutter will contain lots of pictures about a gift set, errr.. sound like a warning isn't it ?
ho ho ho ..
okay, please take a sit, relax and enjoy my shutter ...

I choose a theme for my gift set , it calls "Christmas with the beautiful sparkling frosty heart"
First, here are the tags that I made ..
when I created them, it just silent on my room and I heard on of my favorite Christmas song ..
"This is Christmas" by Celine Dion
I cut the tag manually with 2.5" x 5" shape and I cut a piece white paper with DooHickey winter scene  (Dies club vol.7) then adhere it on the tag with fun foam to make a dimensional look. and I am not forget to give an evening winter feel with Brilliance soft gold using a blending tool.
I do not dispose  the rest of the stars but I am using them to get a beautiful sky on the winter evening.


as you know, I can't resist with these cute girls, I stamp 3 of Tilda holding heart from A Lovely Christmas collection 2015 and guess .. why I color their shirt with 3 kind of colors ??


okay ... before I give you the answer about the 3 colors, that are my tags  with all Tilda.
look! they also have 3 kind of twine colors and every color was matched with Tilda's shirt.


more closer ...
the one on with purple was inspired from "Frosted Plum"
and the green was inspired from "Glazed Apple" while the red one inspired from "Frosted Cranberry"


Ho.. Ho.. Ho..
do you smell something ?? no ?? really ??


yess .. they are the inspirations!
I really want to bring someone a warm thought, and  I think on this Christmas a dear friend of mine really deserved it
I made a box, just simple box nothing fancy at all . but I dies an oval shape in front of the box and decorated it with snow and trees


Wrapped them out with a vellum and I stamped some of snow randomly with white pigment ink.
They are ready to fly! and I am hoping so much they will safety arrived and my dear friends will love them as much as I do.


Each will be get a set like that, with a harmony color and scent .. I just love to pack those gifts!

Okay,  .. that's all from me hope you guys really can enjoy what I serve today and don't forget to leave your words or may be your short story about the Christmas around you ? It would be a beautiful sharing ;)
and remember there are some presents from Magnolia everyday until the end of this December .. don't miss it!

I will be back soon with the winner ..
Thank you so much for visiting and Have a beautiful December everyone !!!
 
Merry Christmas from Indonesia,
Yulis

Joyful Christmas - Using fun foam for stamping

Hi !!!
Christmas will be coming very sooooon!!
are you ready folk ?

Today I am happy to share what I am doing if I have to make lots of tags but I found no time longer to sit and doing some coloring.
 
I decided to make a simple design tag, and when I was searching a decoration stamp along my Christmas sentiment I realized that all my ornament stamps need a coloring, goodness! I can't coloring that much.. 

Ok, how about dies cutting ..I also don't want to roll up my big shot machine over and over on this limited time! So, I  grab a piece of fun foam and cutting it up with DooHickey Vintage Mistletoe.
 
First I cut a piece water color paper, I use Canson XL due I need a lot tags as well as I want to do some loose water coloring for my tags. I used my MISTI tool to stamp the sentiment because I want all stamped on the same position, I am using versamark and embossed it out with Ranger liquid platinum embossing powder. After all my tags have their sentiment I make a color-wash background using my Winsor and Newton pan - Violet. Next I temporally adhere my mistletoe using temporally tape, that fun foam is very flexible so all I have to do is lay it on my tags and pick it up with the acrylic block then I ink it up with Zig Clean Color real brush and using it like a stamp.
With that technique I was able to make many tags on my limited time, so guys I wish I can provide you an inspiration if you need lots of tags for your Christmases things with less of stressful on this holiday crowded :) I hope!!

And that's all from me today, I will be back on couple days very soon so I am hoping so much I can see you again!
Thank you and Have a wonderful December everyone!!!!!

xoxo, Yulis

Candy canes in a mini hand cut milk box

Hello everyone!!!
  I am so excited to go for December shopping at the moment ..
Ho Ho Ho ...
hmmm ... before it, let me share my other work to you as you all are SO dear friends to me! 


I made a mini milk carton, they care hand cut no special tool needed but a ruler, cutter and pencils
The mini panels are just red cardstock that stamped with candy cane stamp from A Lovely Christmas called Candy cane kit. I am using versamark and white embossing powder to make my own designed panels. The cute Cherry was cutting from DooHickey kit vol 7
I am happy to write down the measurement to make these mini milk carton, hope the winner will be patient .
We need 1 cardstock ( 8.5" x 11" ) to make 2 milk cartons; cut it into 8 1/4" x 5 1/2" ; score on the long side at 1 7/8 . 3 3/4 , 5 5/8 , 7 1/ 2" ; score on the short side at 1 7/8 , 3 3/4 . 5"
and than just fold on the each scored.
Well, these are the cutest little milk carton I ever made, hope you will love them as much as I did.

Thank you so much for your visiting, and I  wish you a beautiful day!!!
Love,
Yulis